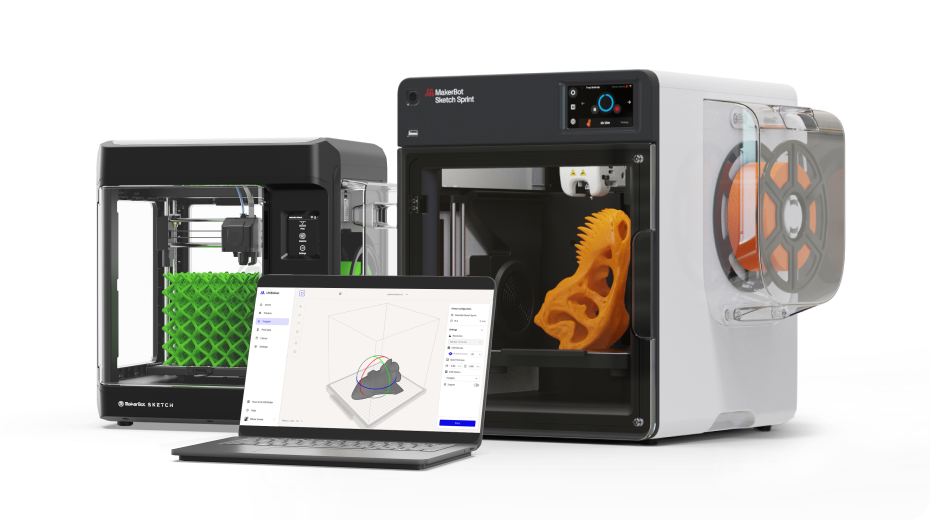
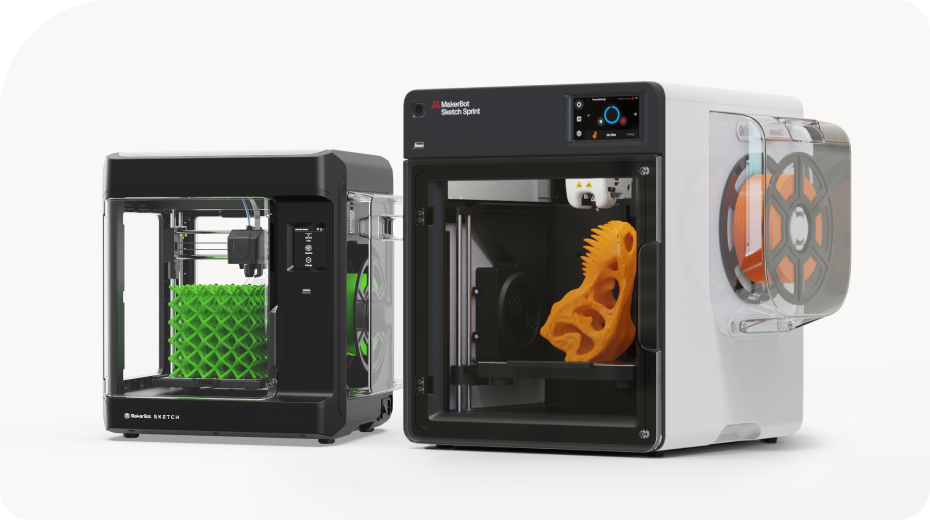
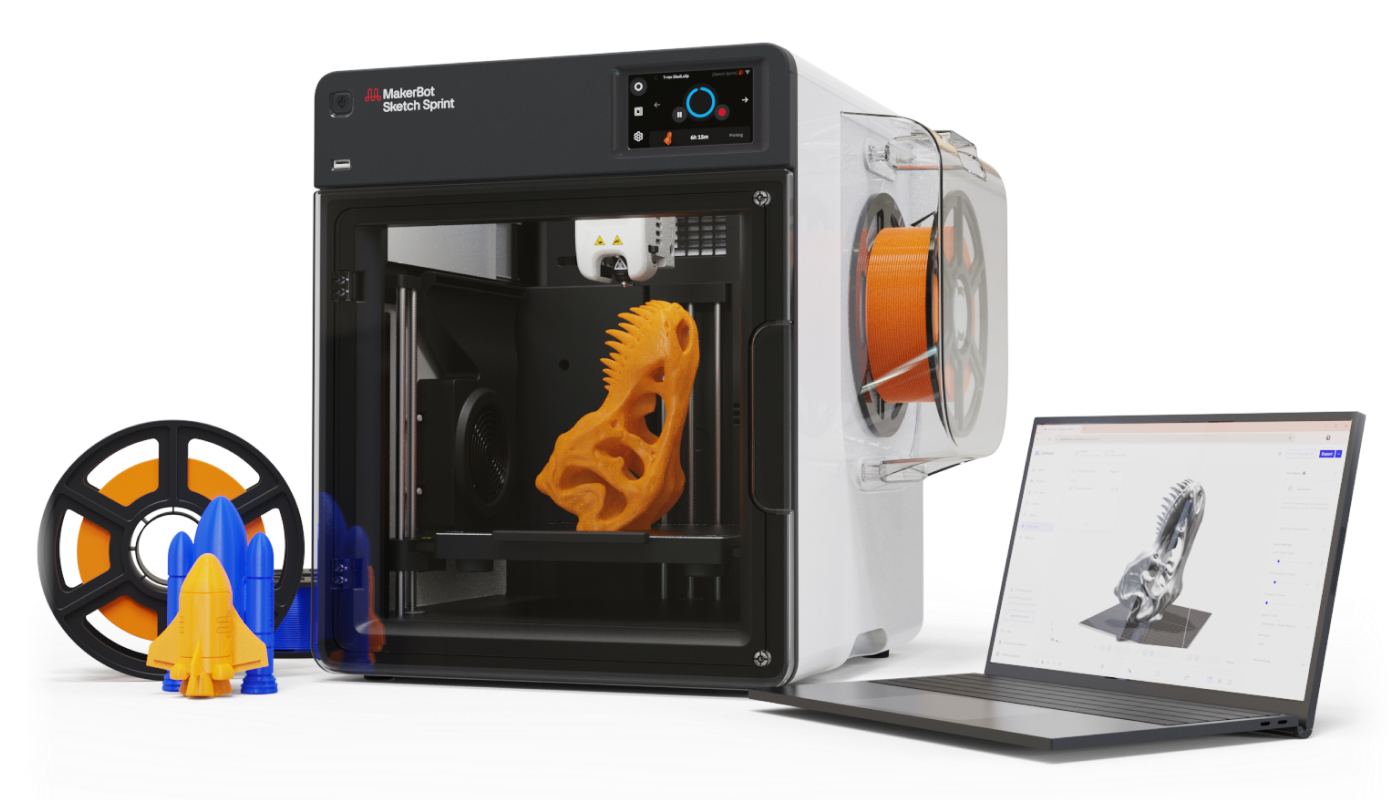
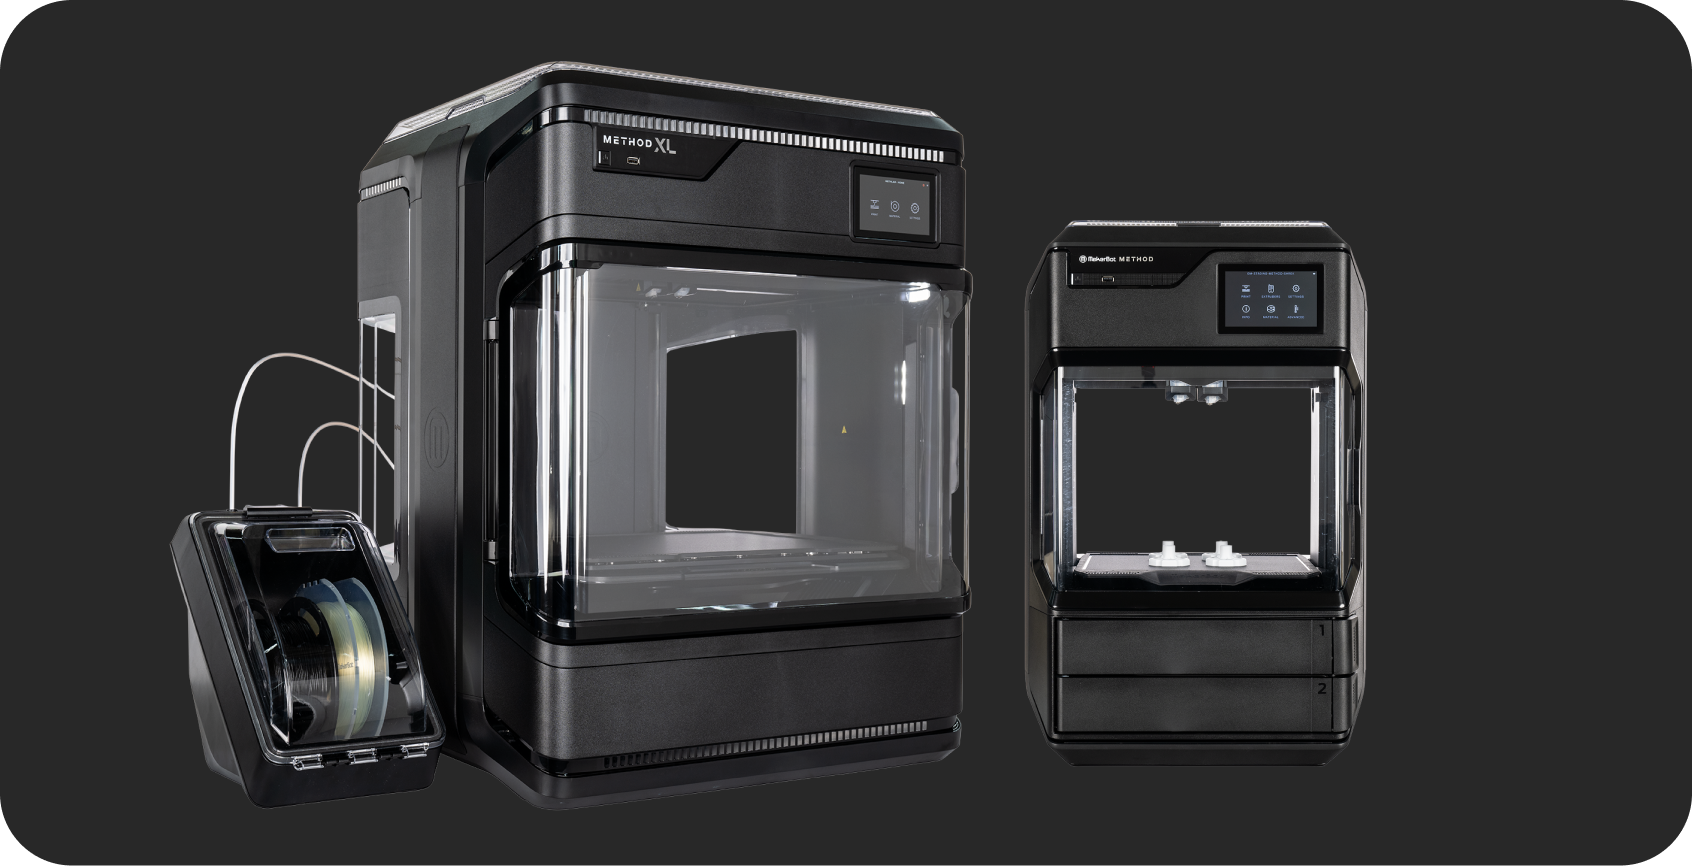
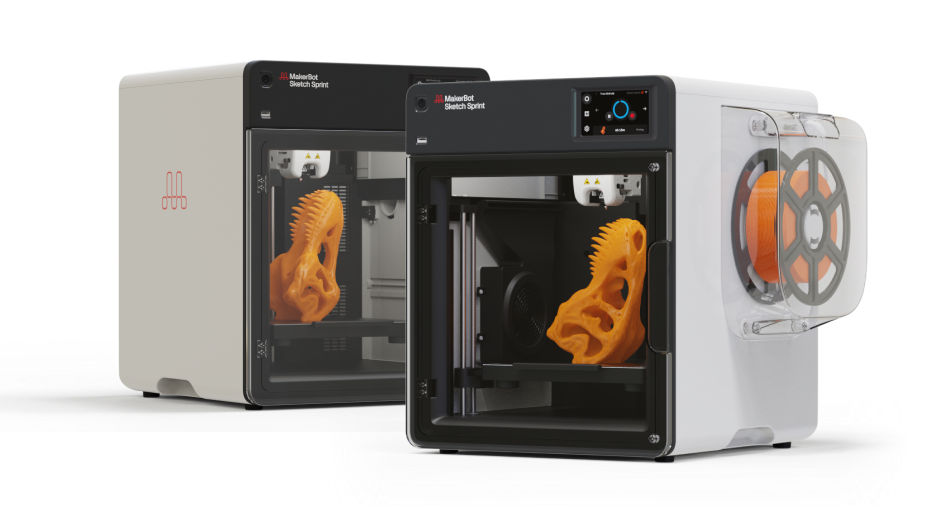
- 3D printers
-
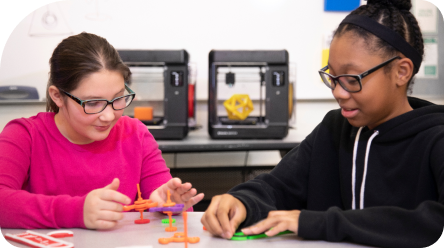
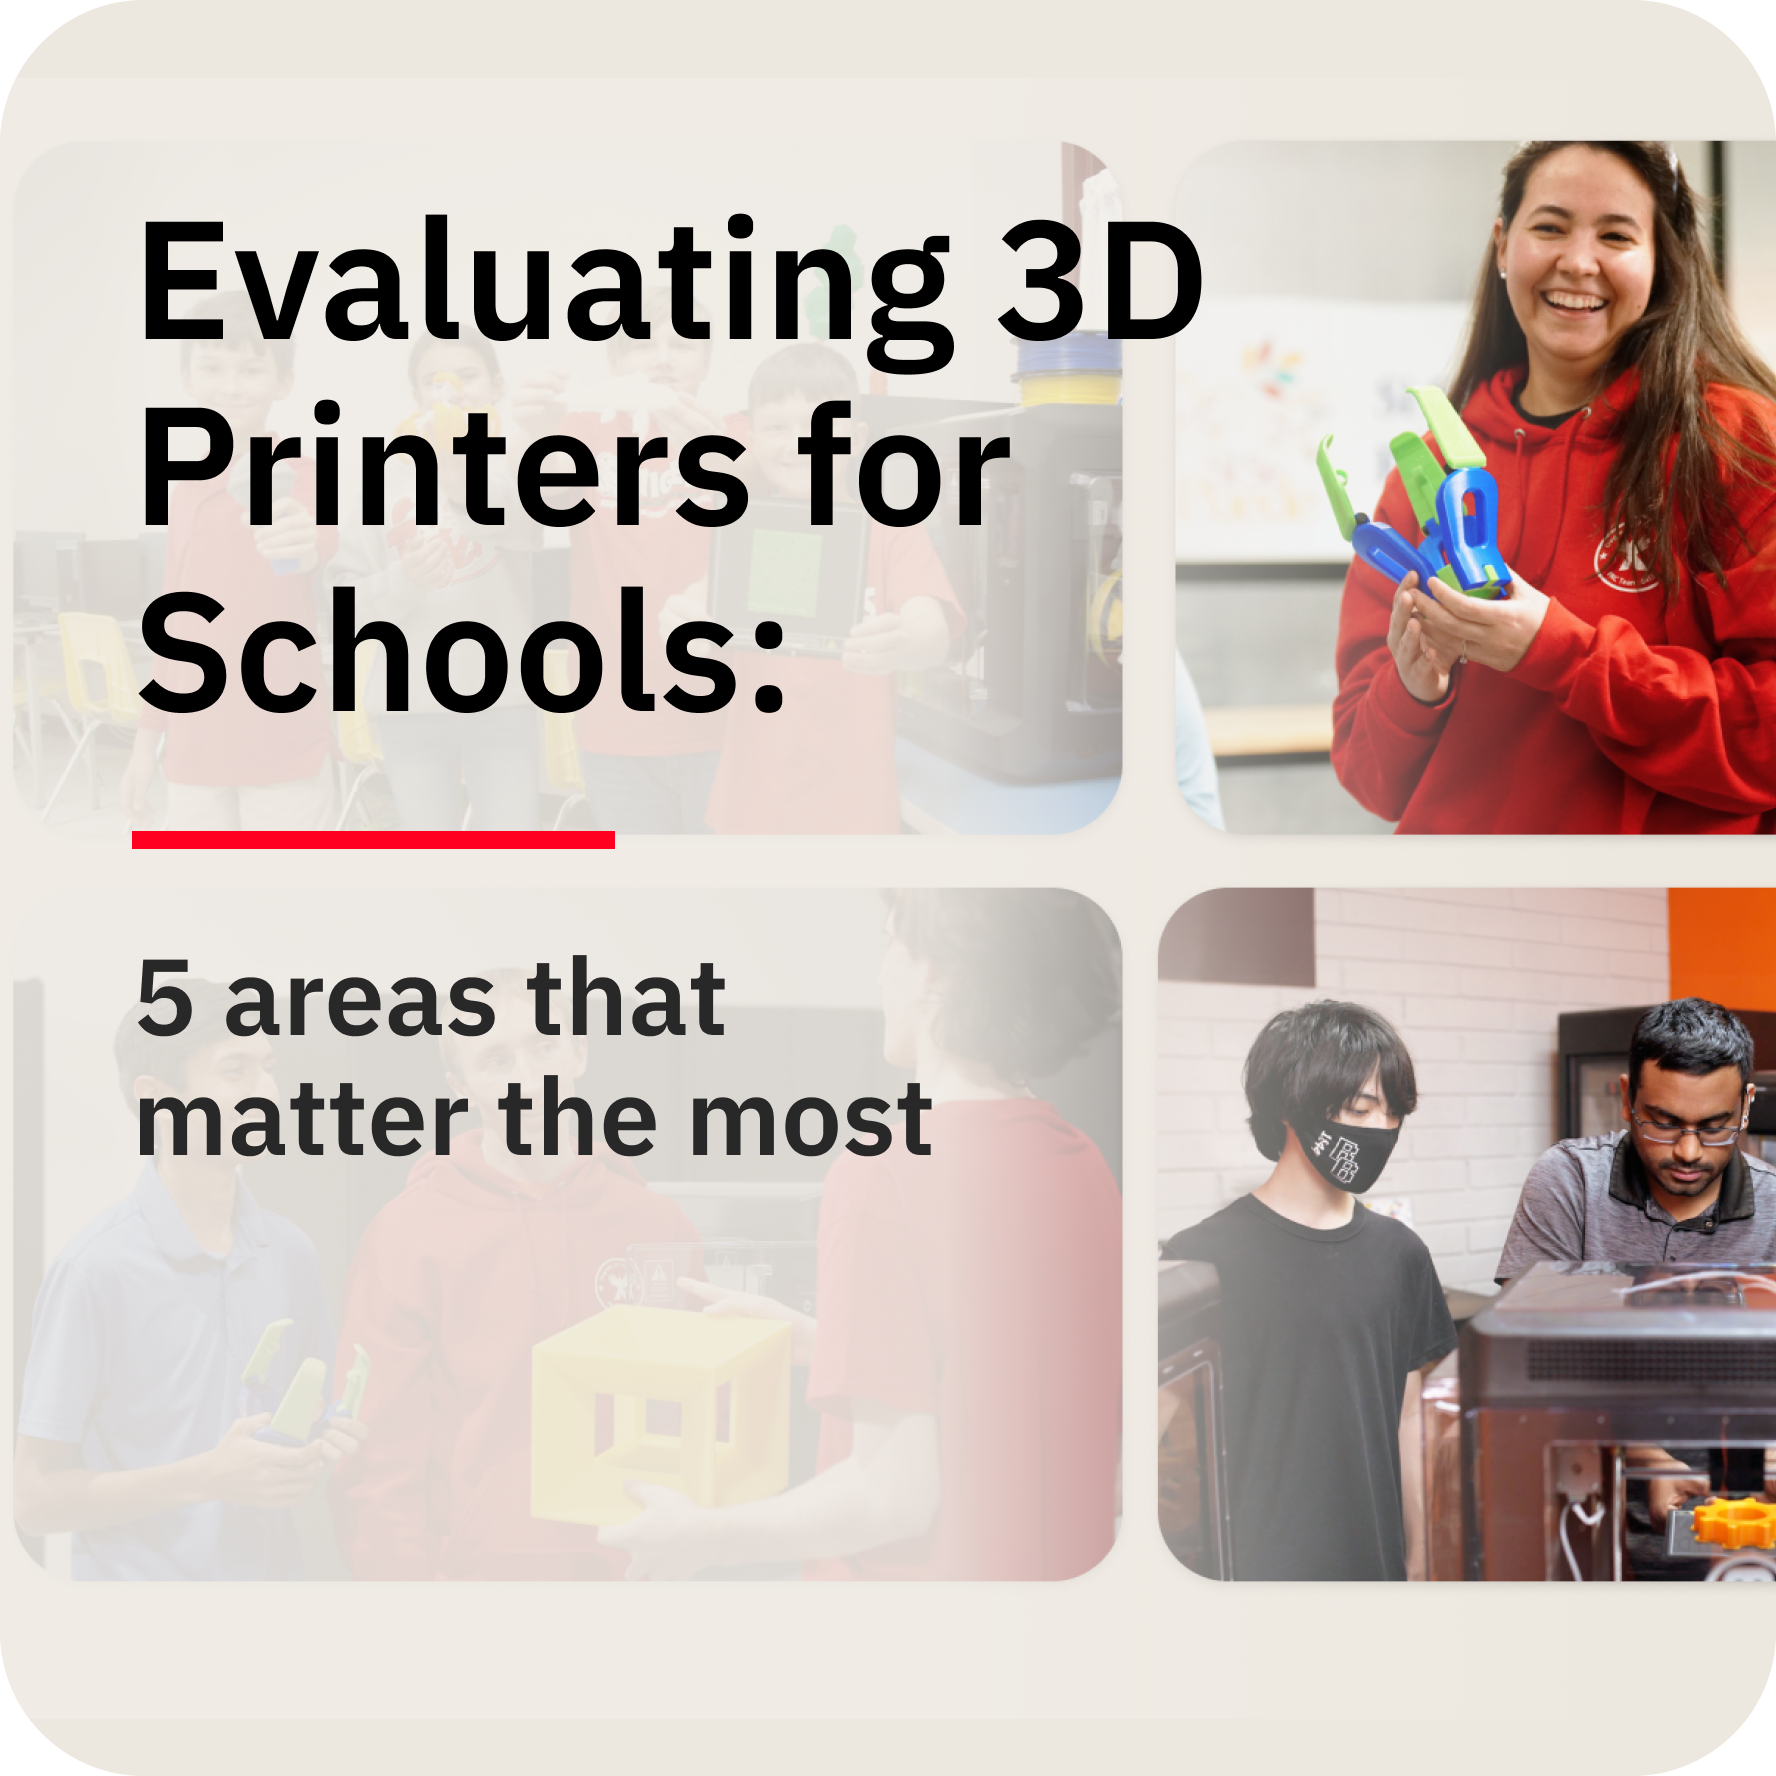
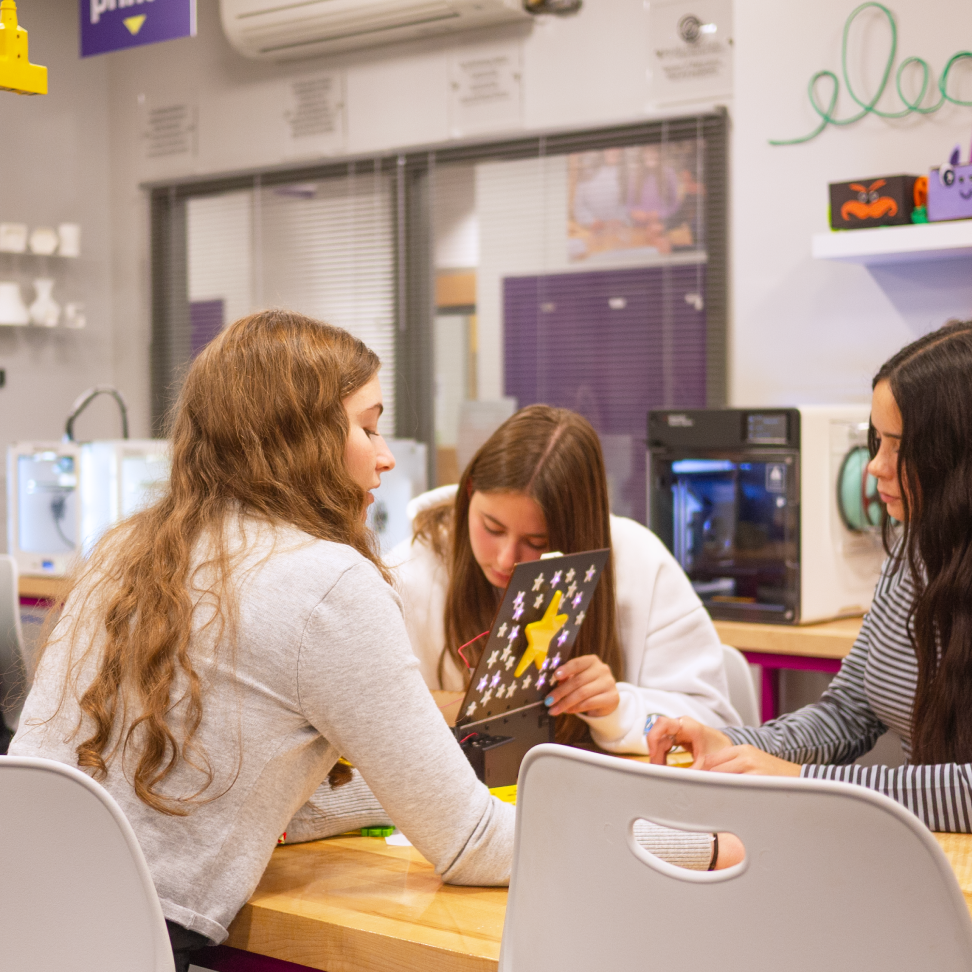
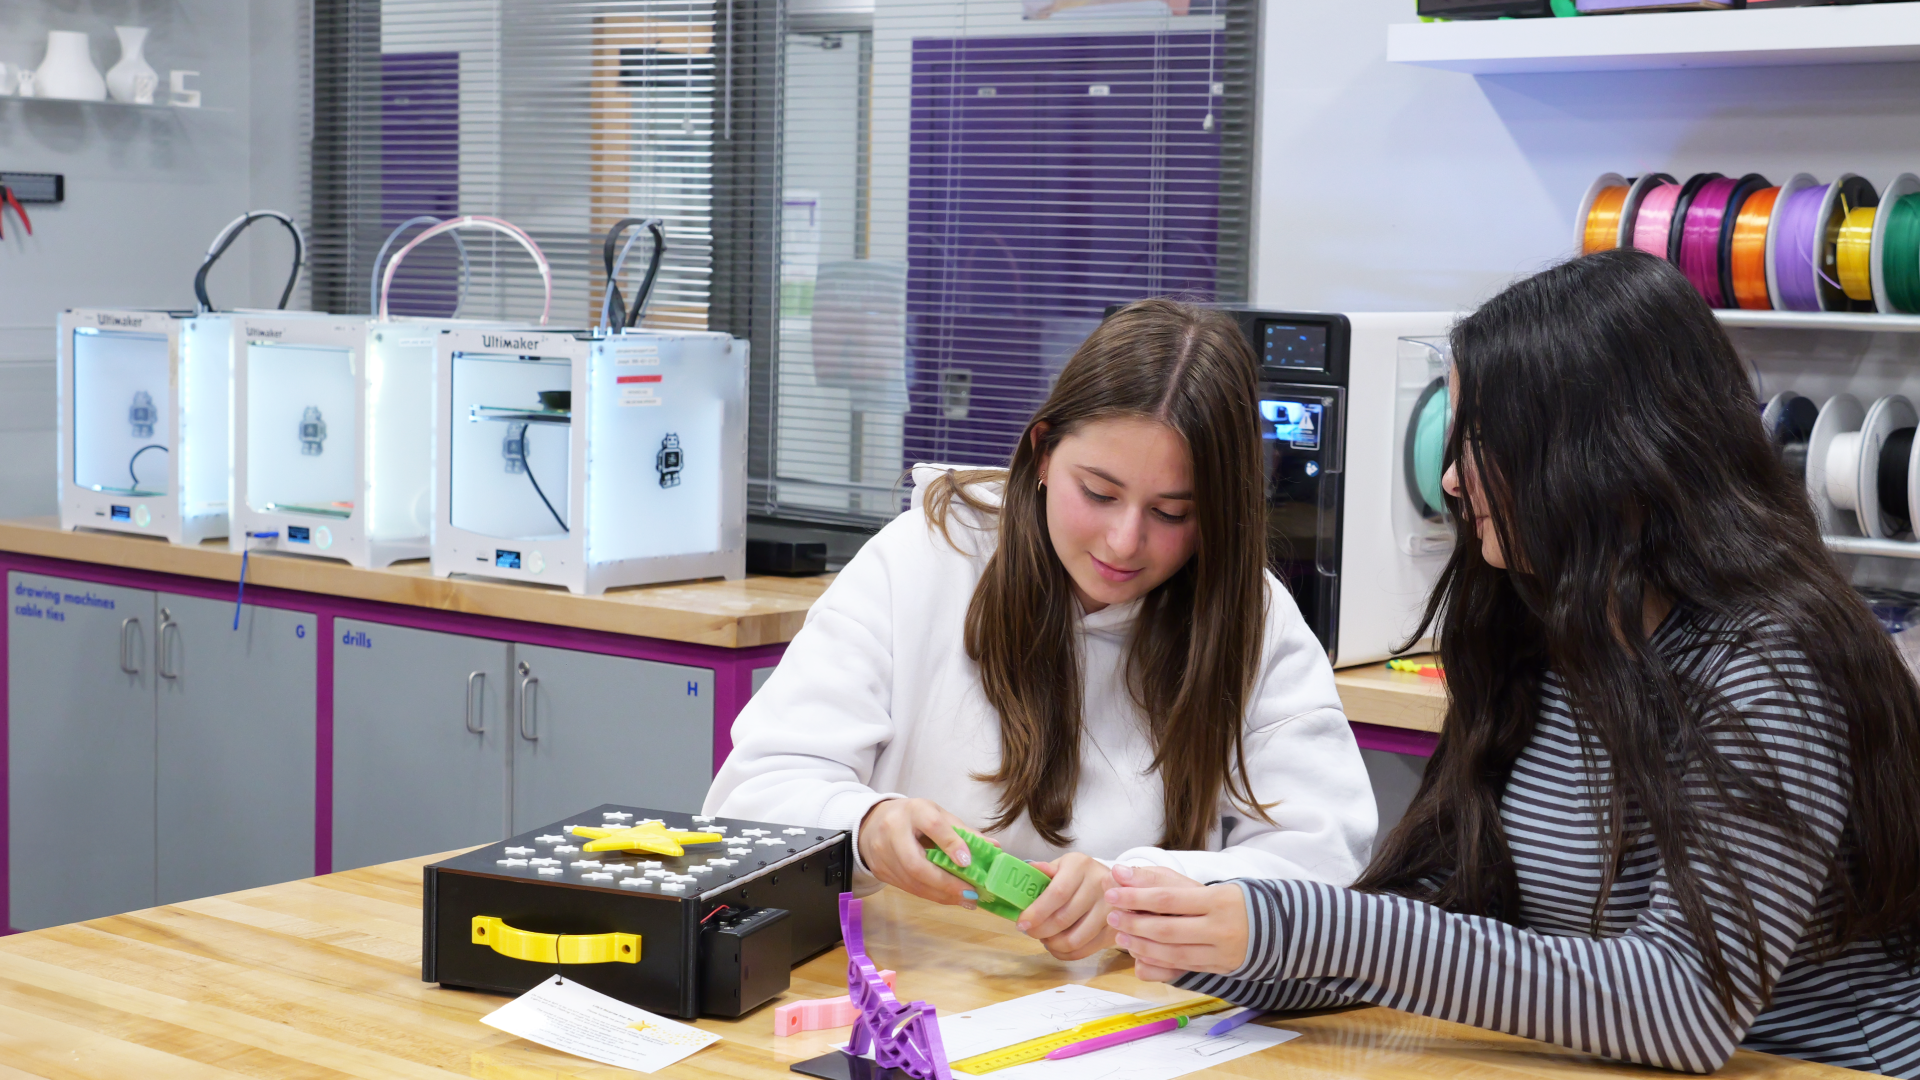
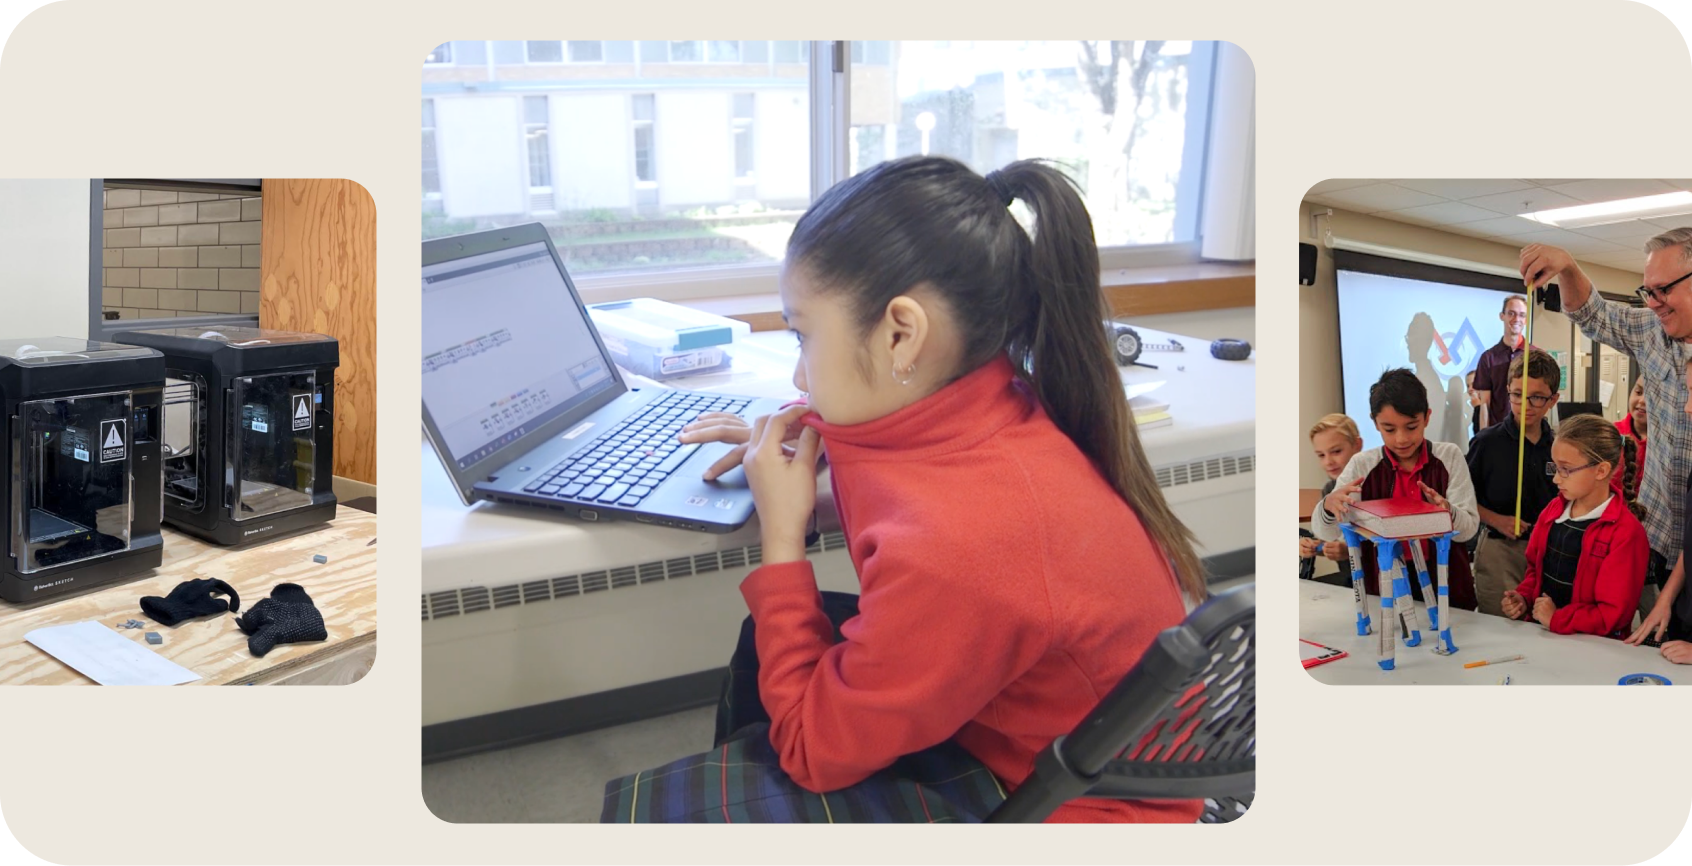
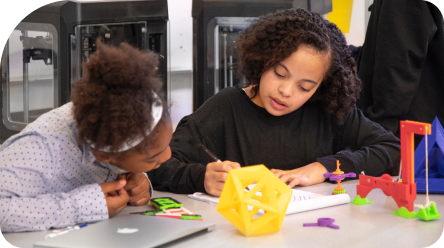
Education
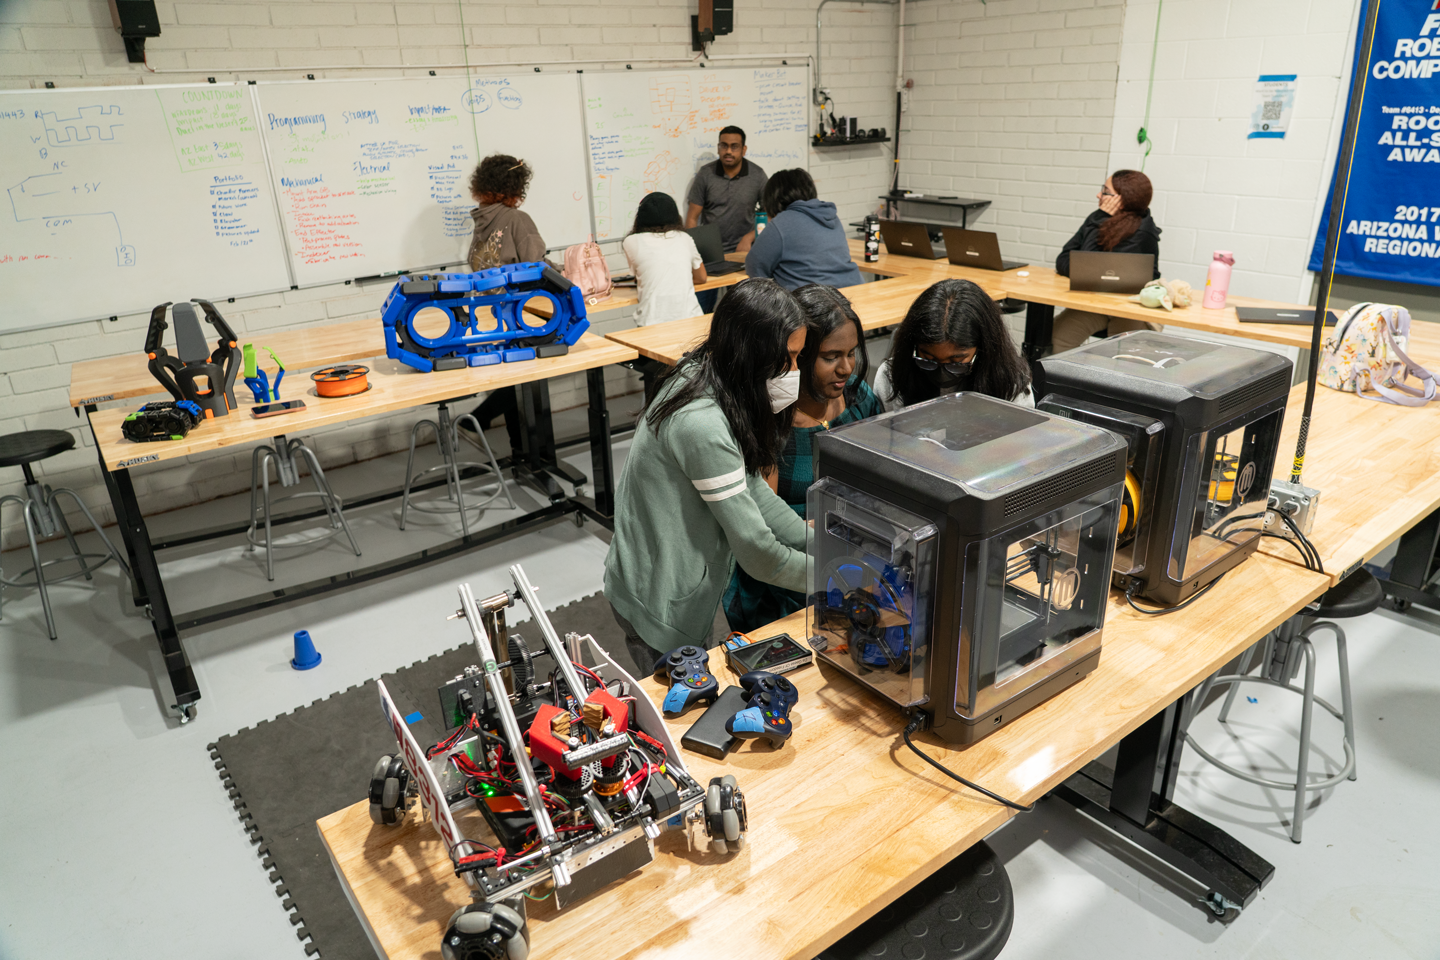
Classroom setup
Which Sketch Classroom configuration is right for you?

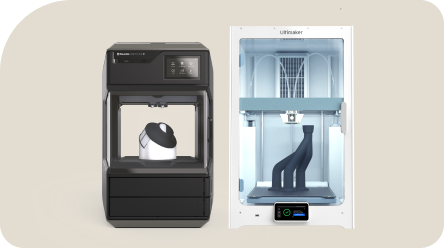
District Solution
From Classroom to District: Scale Your Educational Journey.
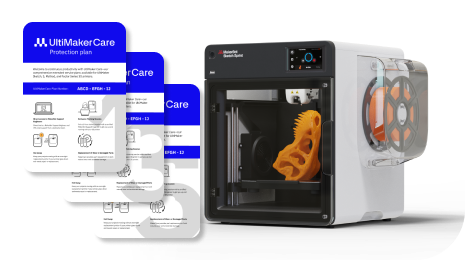
UltiMakerCare service plans
Service plans that support you throughout your 3D printing journey.
-
Software
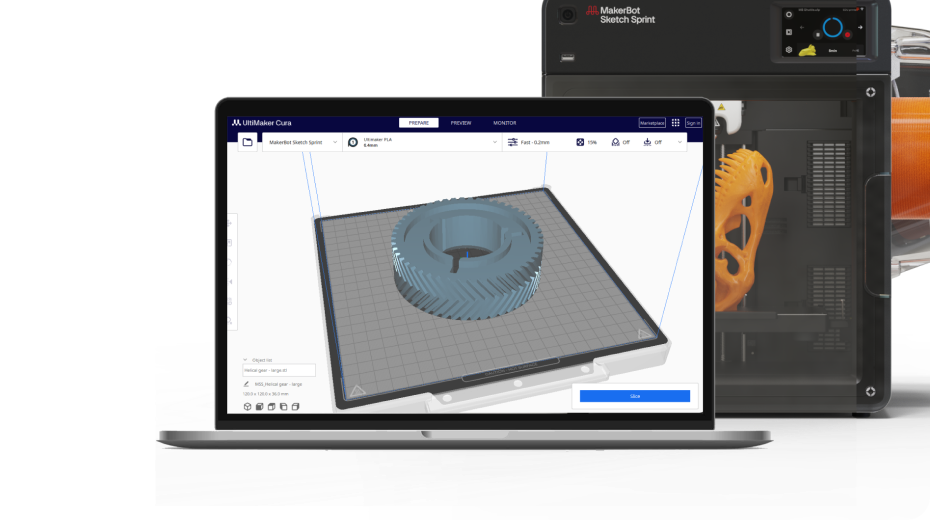
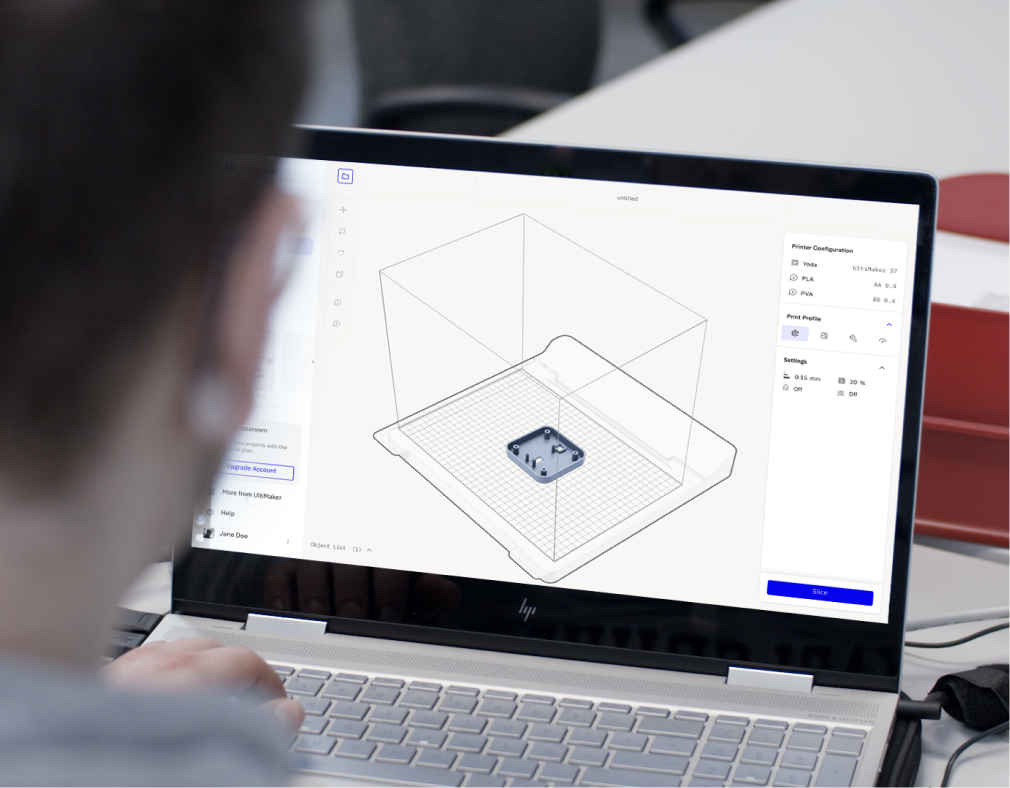
UltiMaker Cura
For advanced users looking to get the most custom control over their 3D printers.
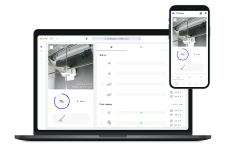
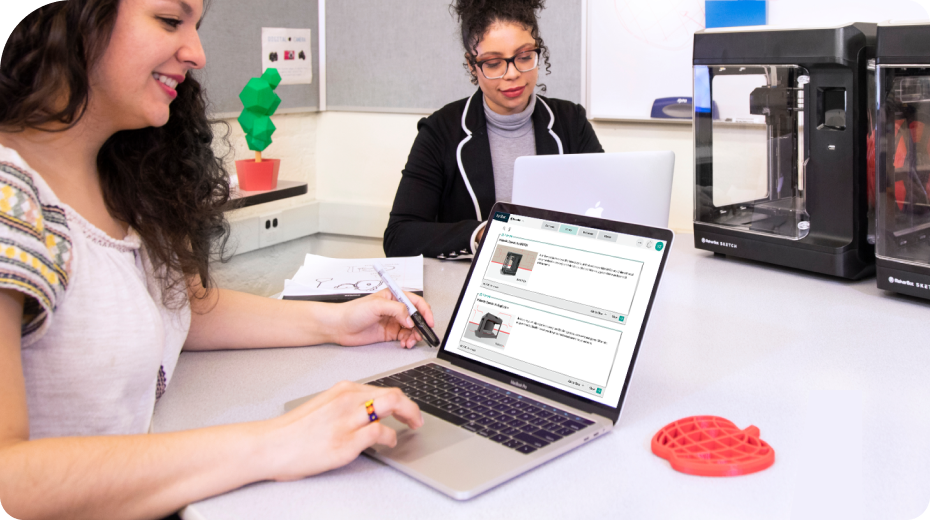
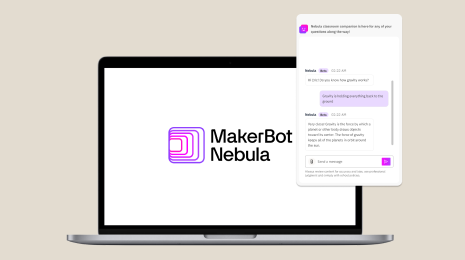
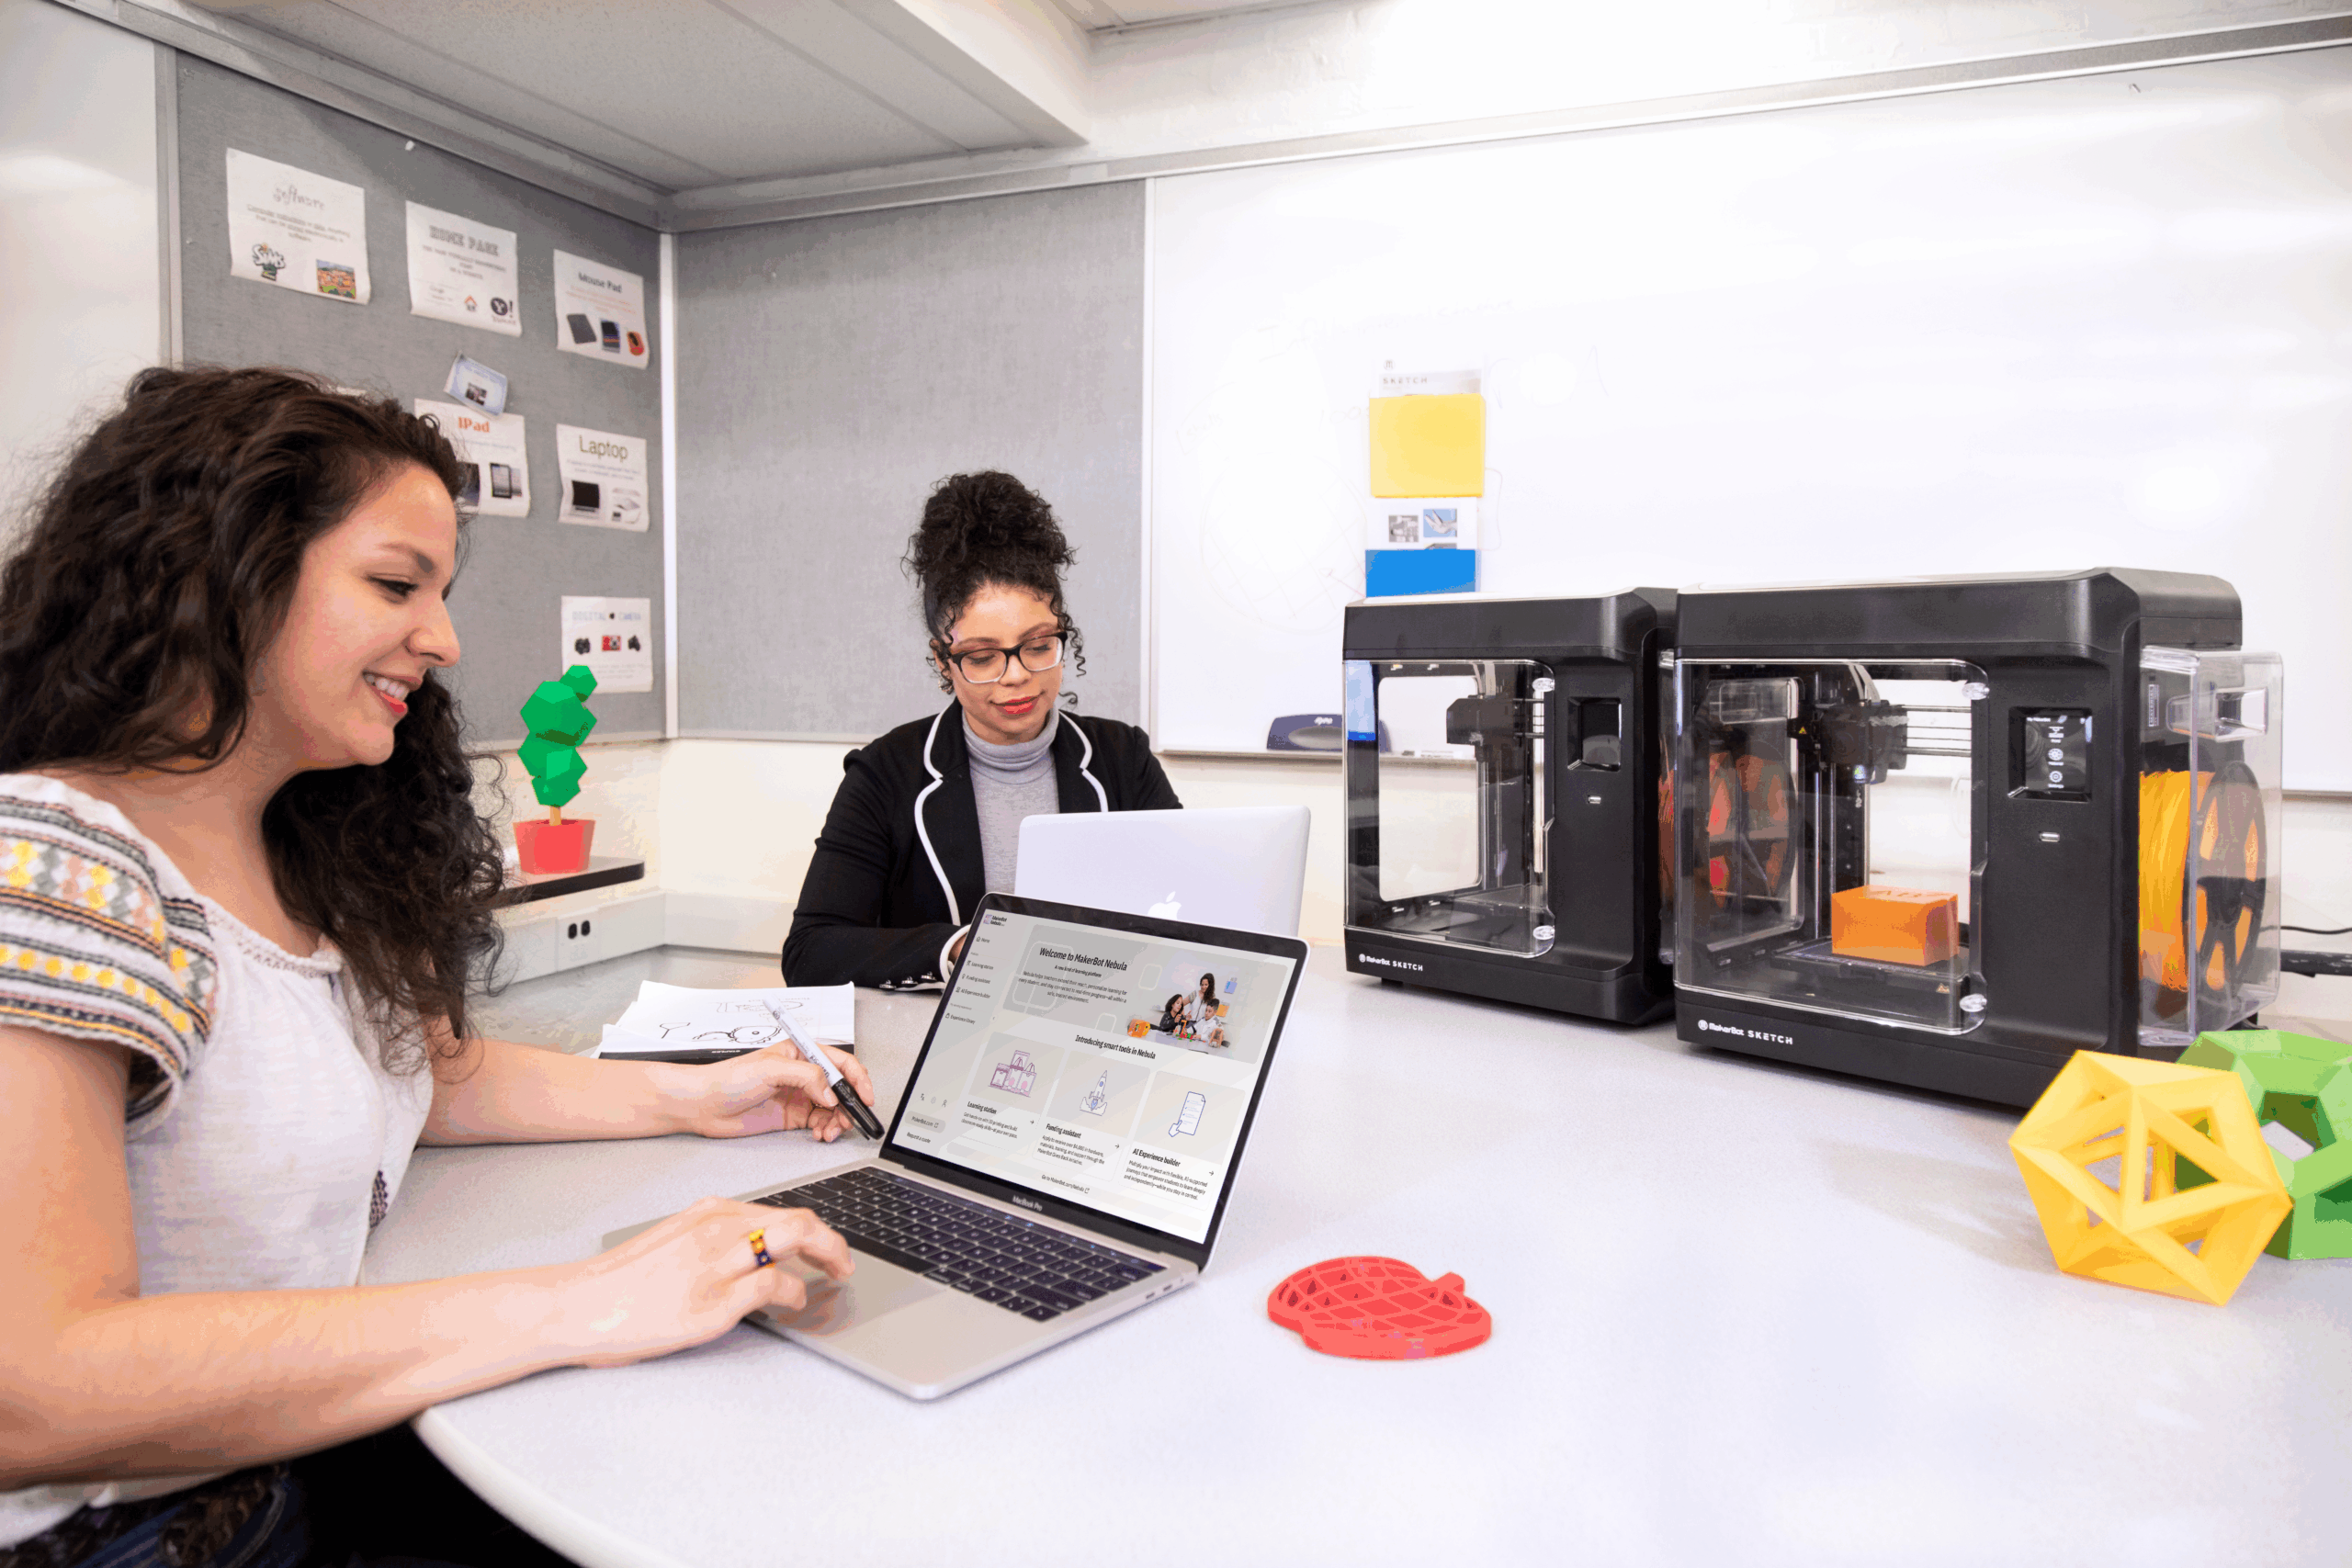
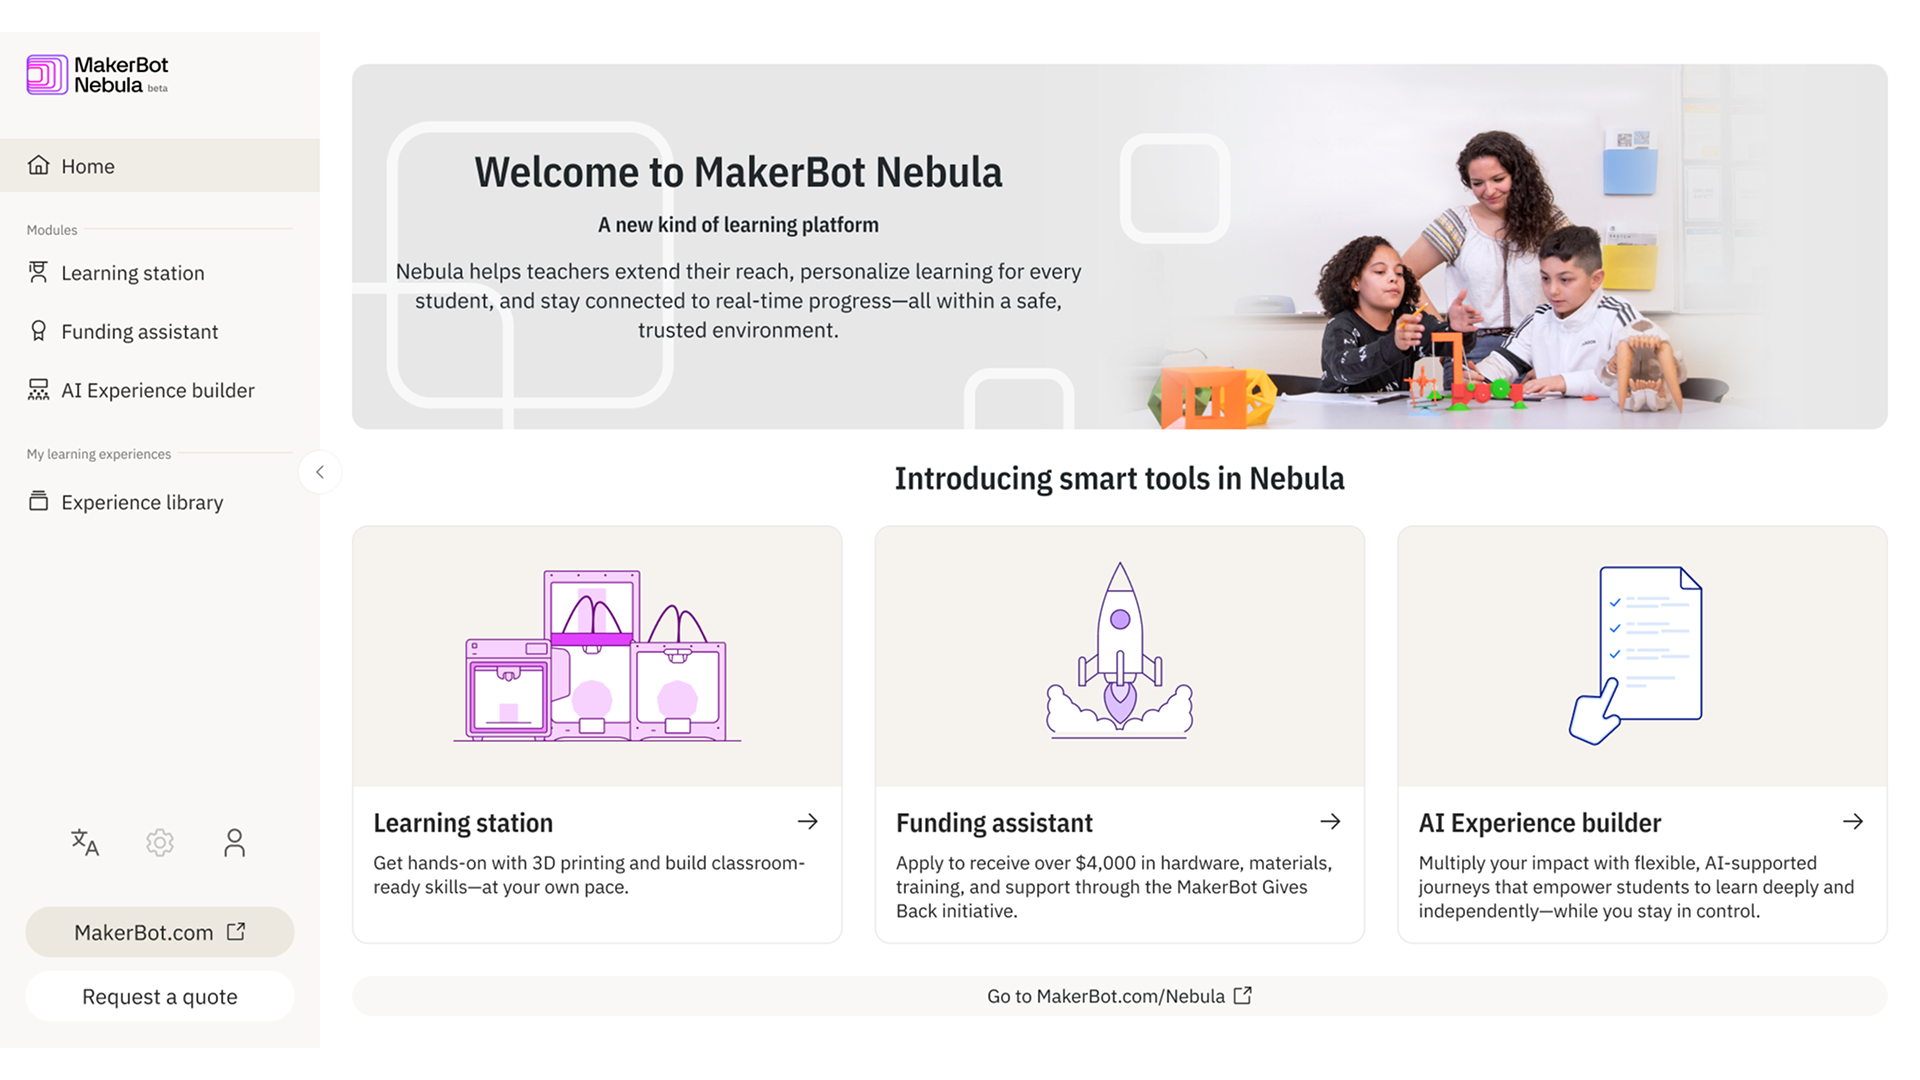
UltiMaker Digital Factory
Digital Factory is an all-in-one 3D printing platform for managing student submissions, printers, and projects from any device
-
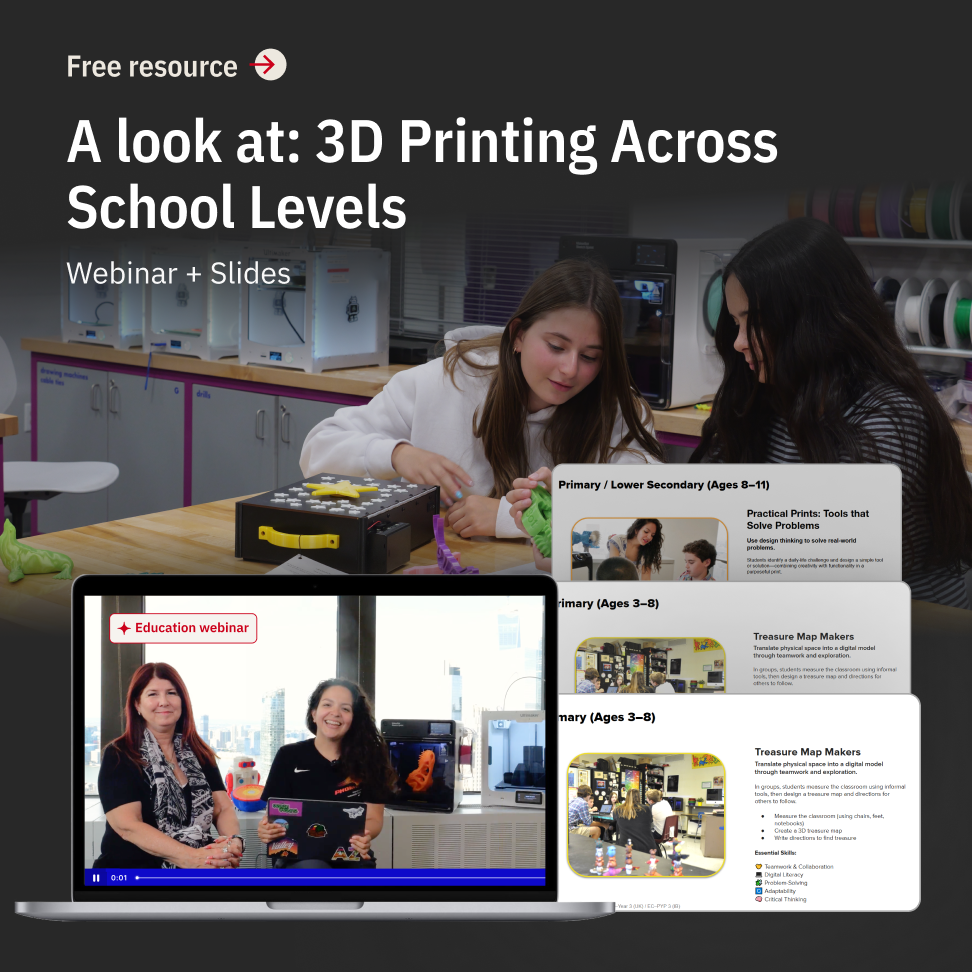
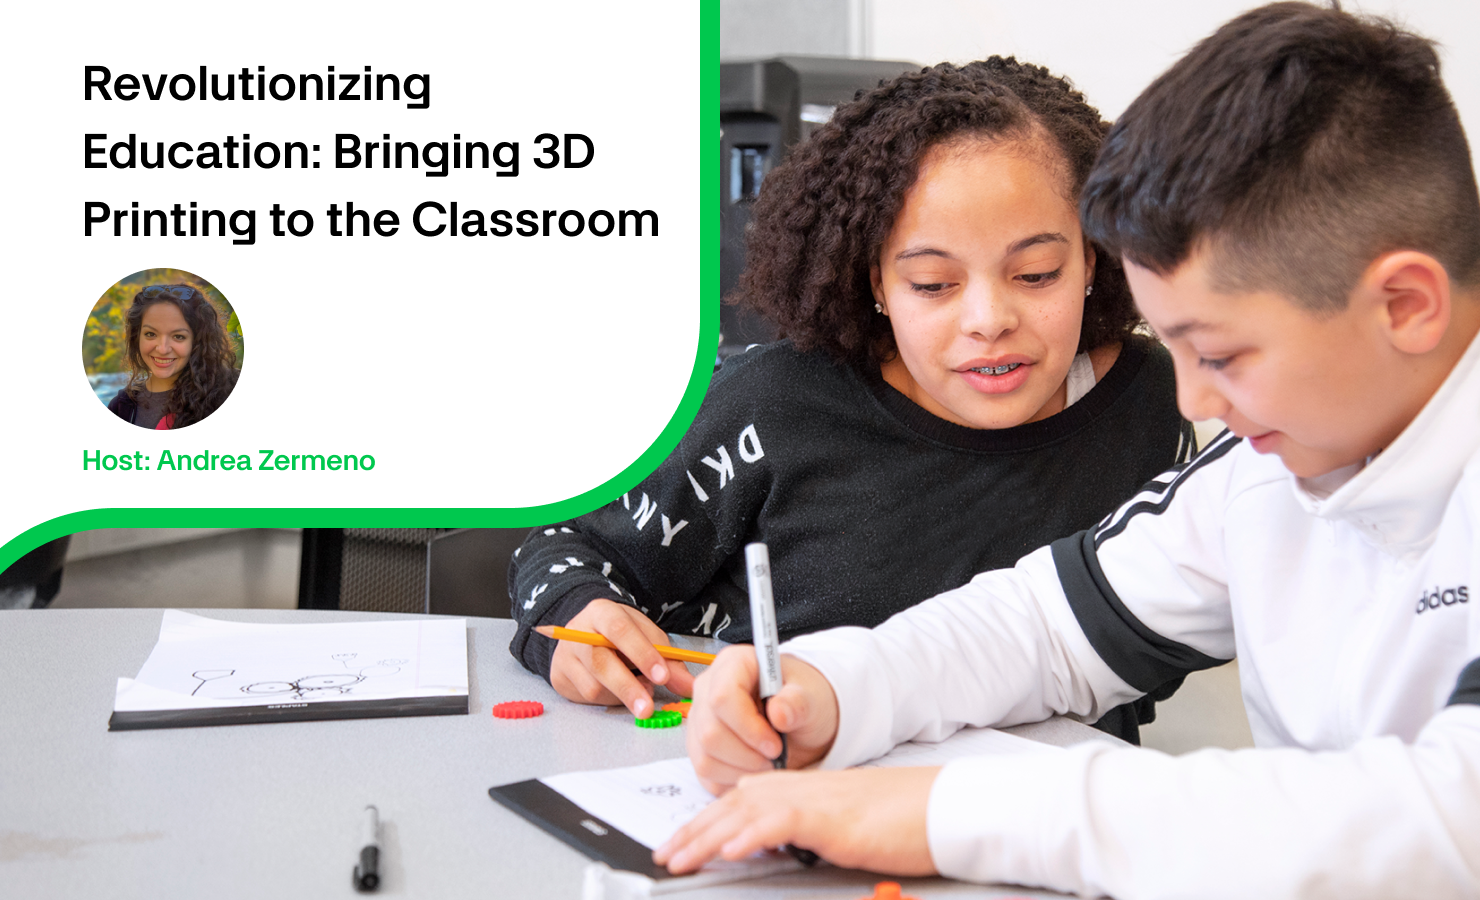
Training

-
Resources
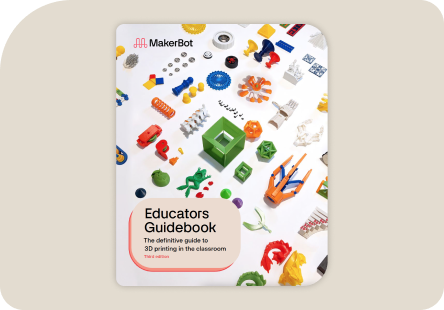
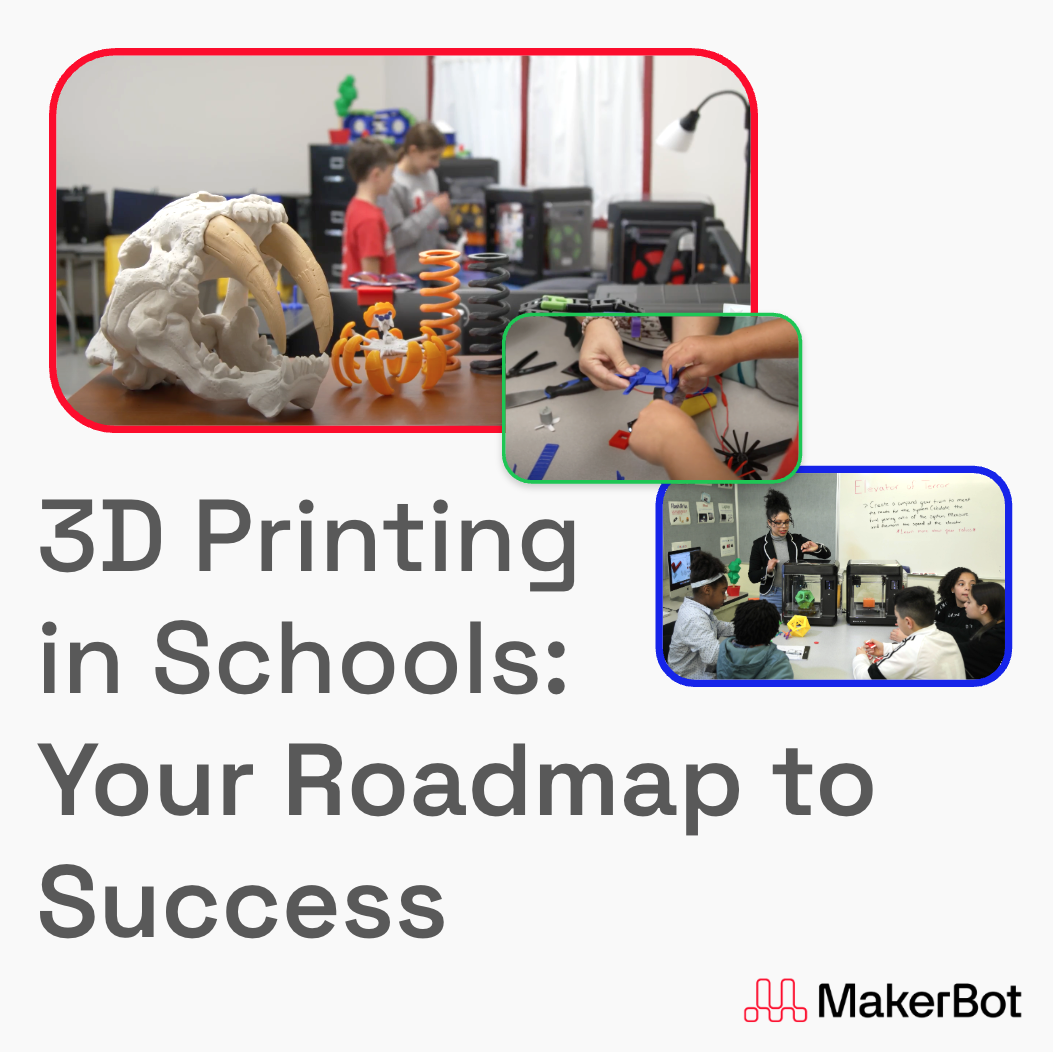
MakerBot Educator’s Guidebook
This guide has become the ultimate 3D printing textbook for students and educators.
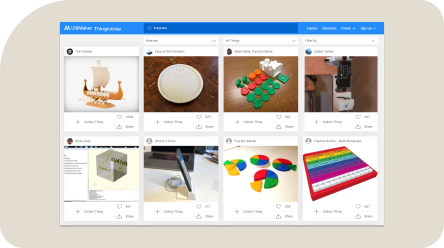
Thingiverse Education Community
Browse hundreds of 3D printing ideas that help engage students of any subject.
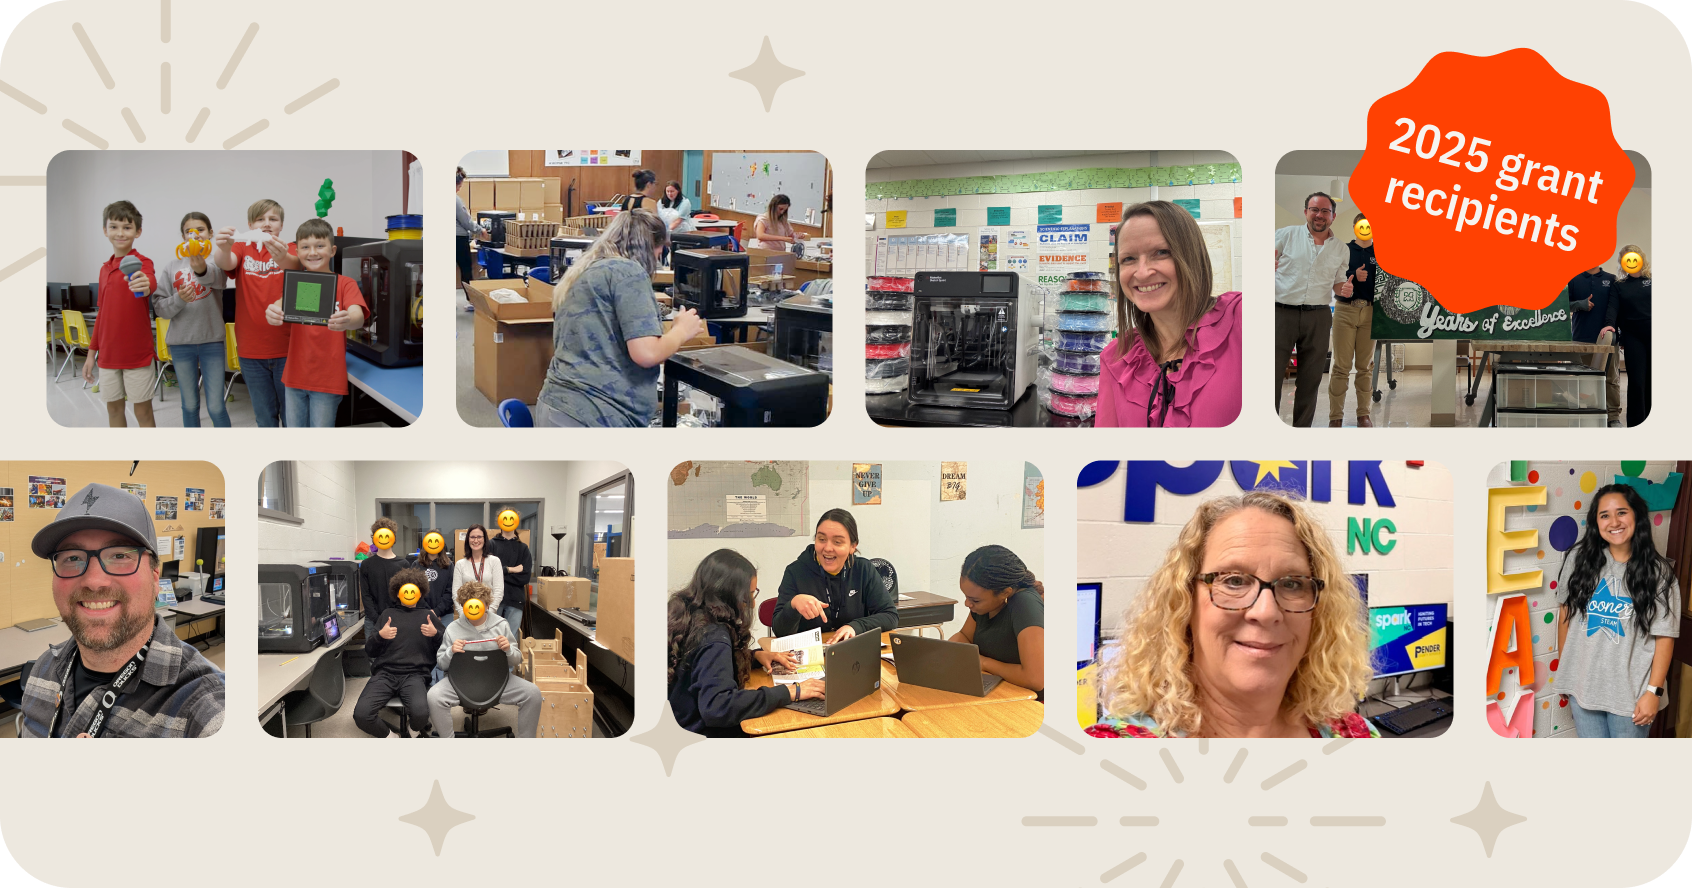
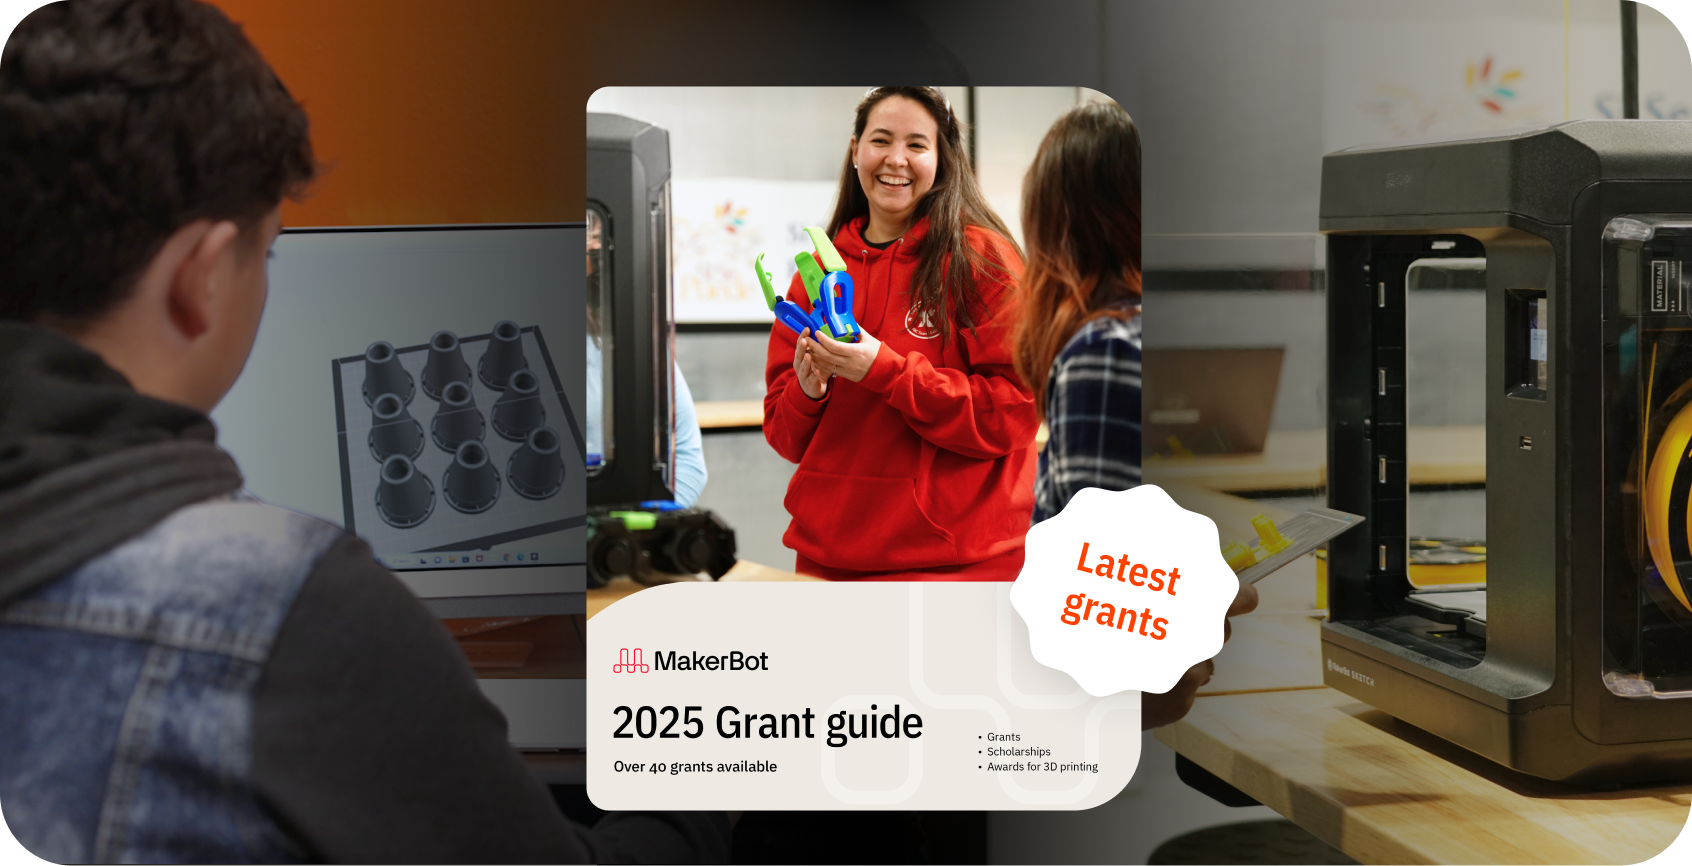
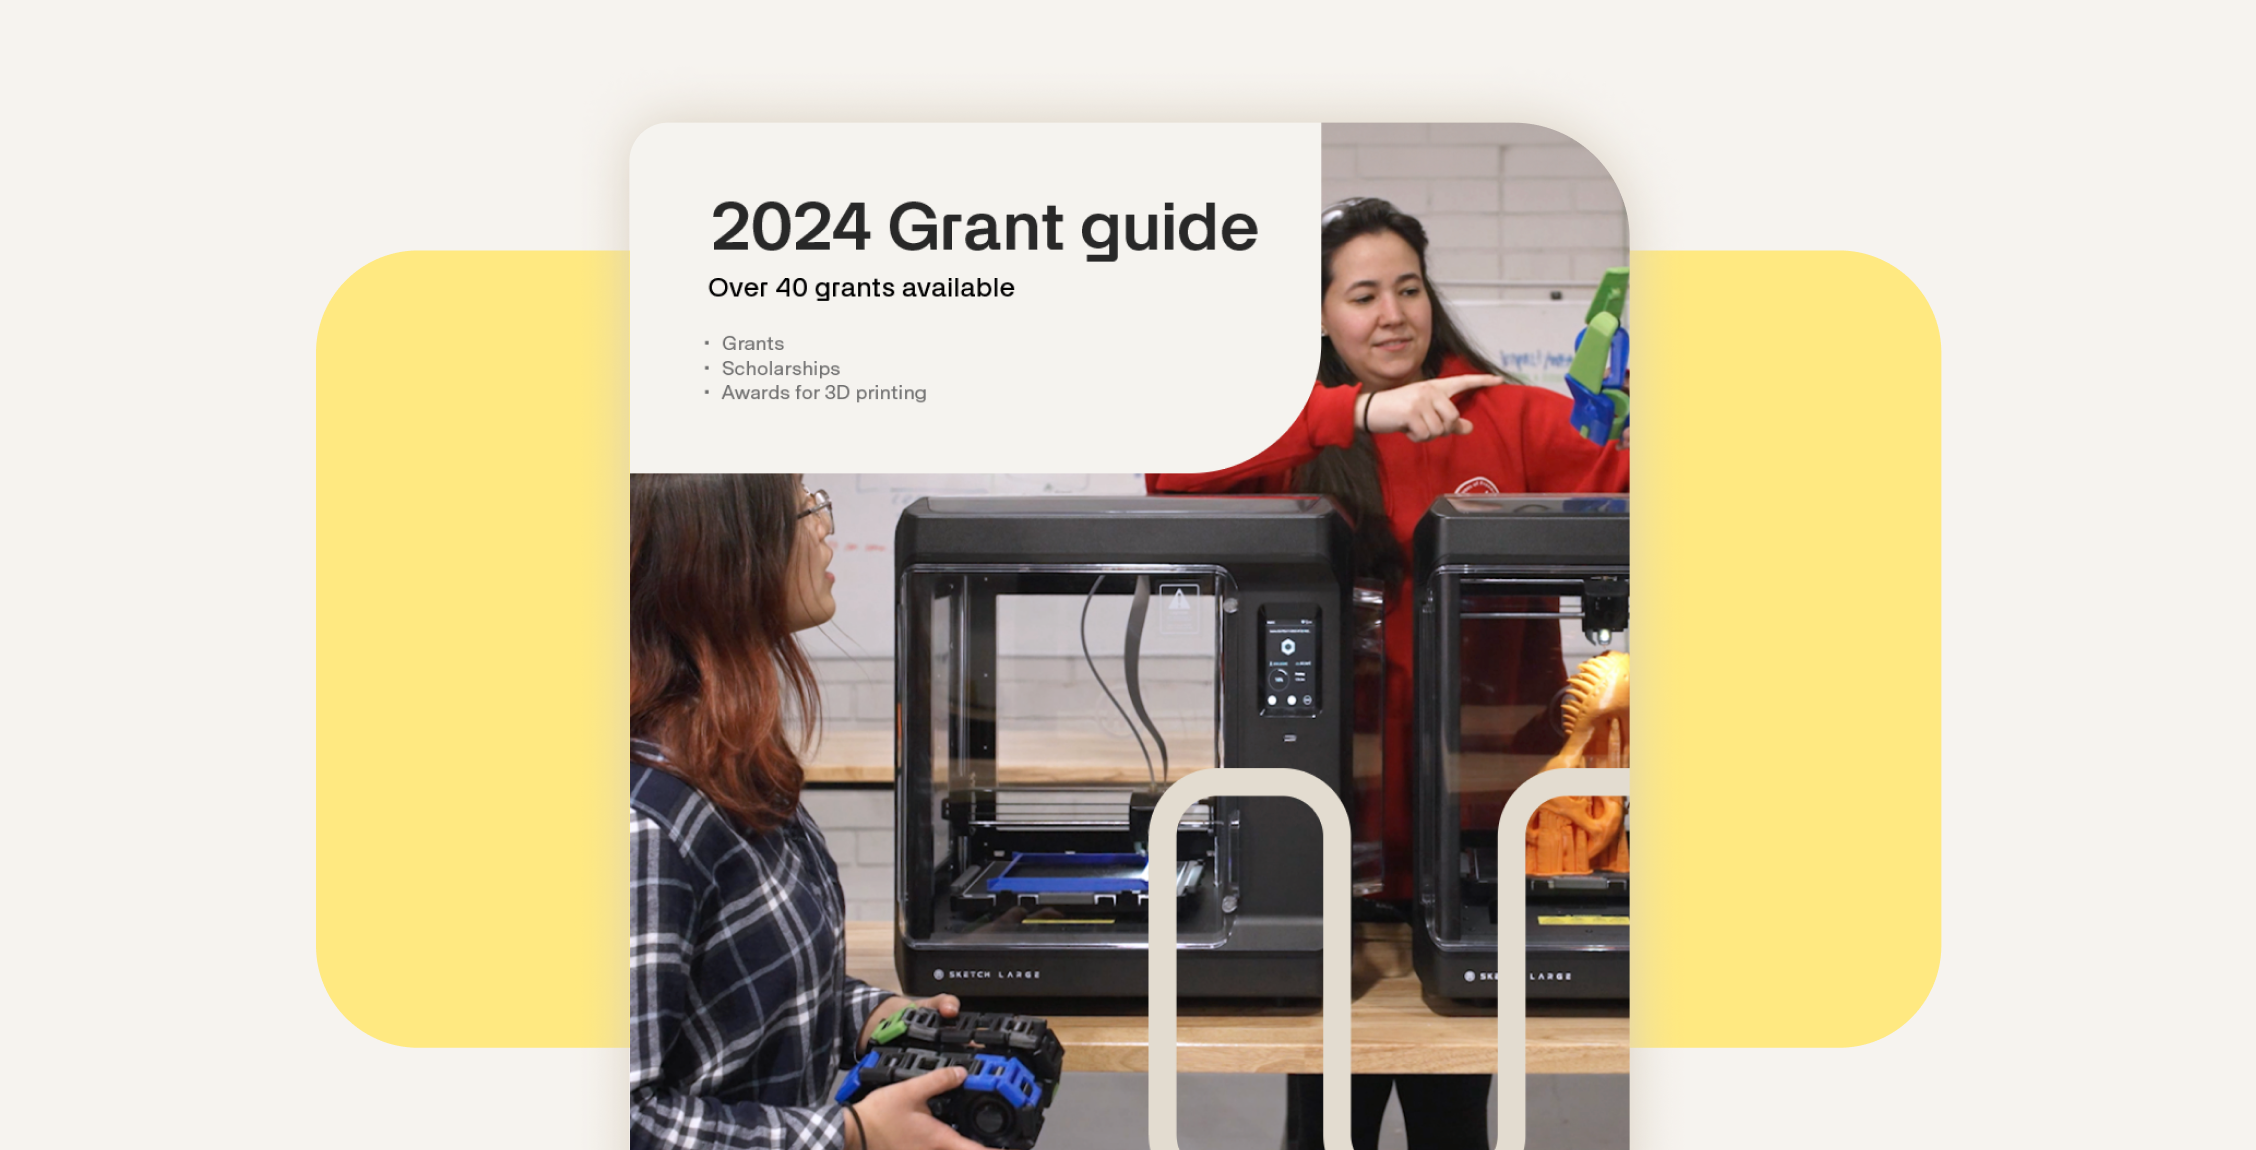
MakerBot Grant
The MakerBot Gives Back Grant Program is dedicated to helping K–12 educators bring 3D printing into the classroom
-
Support